Creating your first form
This step-by-step guide will walk you through creating your first Branchside form.
Make sure you've created an account and logged into the dashboard before you begin.
-
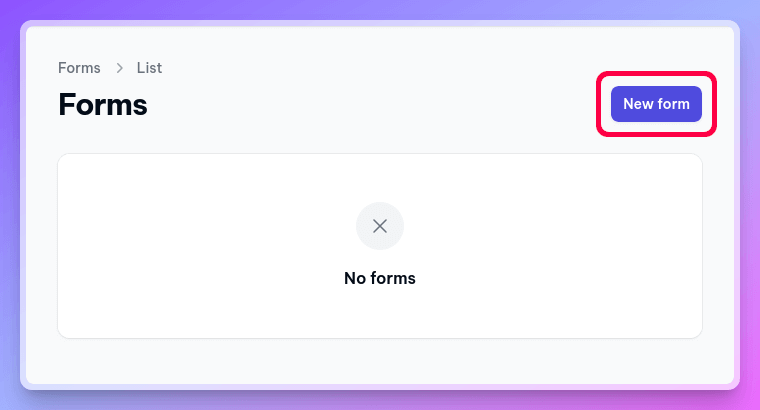
Go to the Forms section in your dashboard.
-
Click the "New Form" button in the top-right corner.
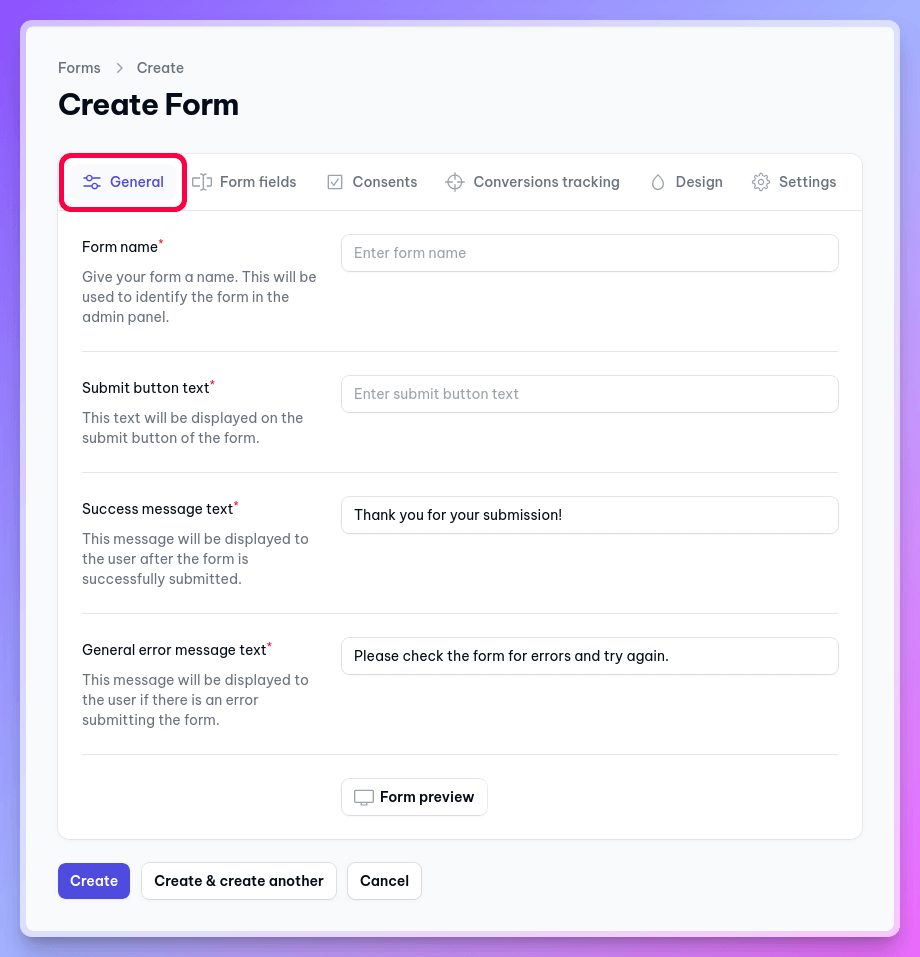
In the General tab, you can customize:
-
Form Name
-
Submit Button Text
-
Success Message Text (displayed after successful submission)
-
General Error Message (displayed for submission errors)
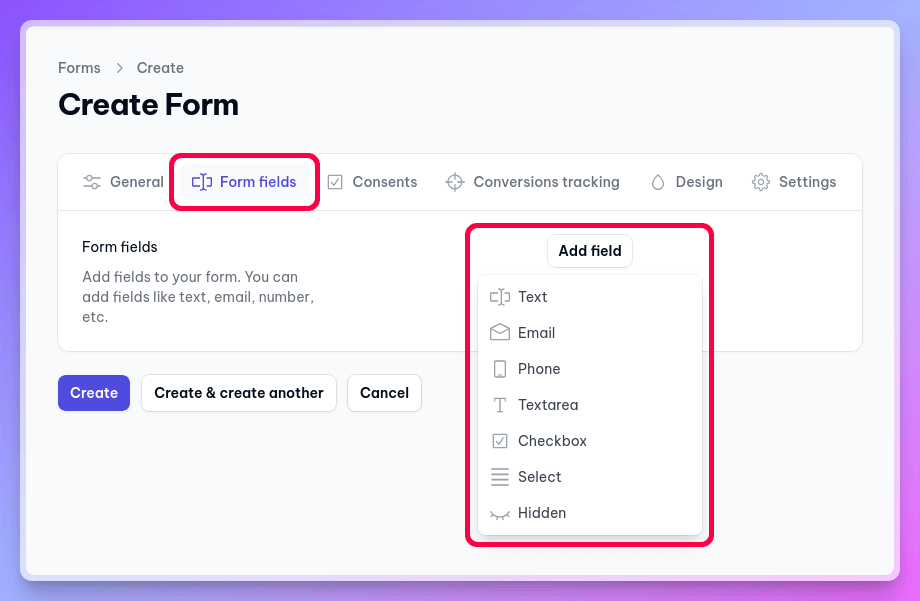
The Fields tab is where you manage the core of your form – the input fields. Here, you can:
-
Add various field types (e.g., text, email, dropdown, etc.).
-
Arrange the order of fields.
-
Set validation rules for each field. Branchside validates input before submission, displaying an error message for invalid data.
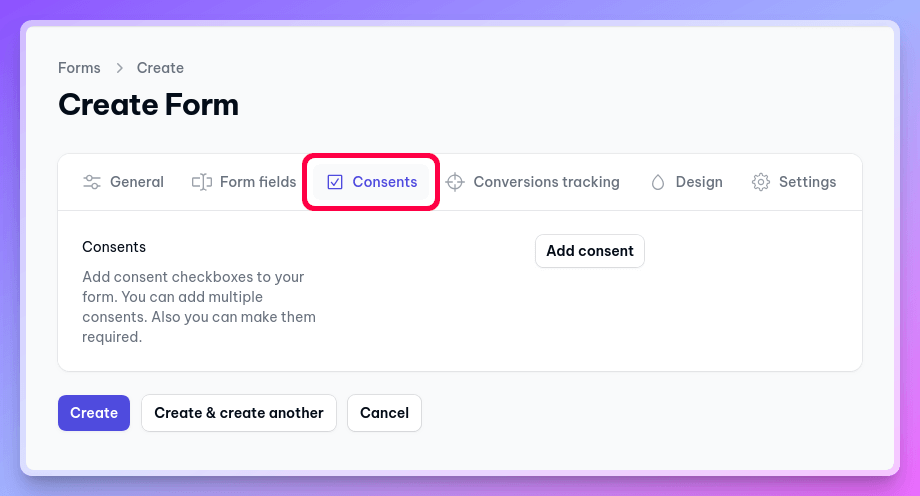
The Consent tab allows you to add consent checkboxes, often required for legal compliance. These appear after the form fields and before the submit button.
-
Add multiple consent checkboxes.
-
Customize the consent text.
-
Make consents optional or required.
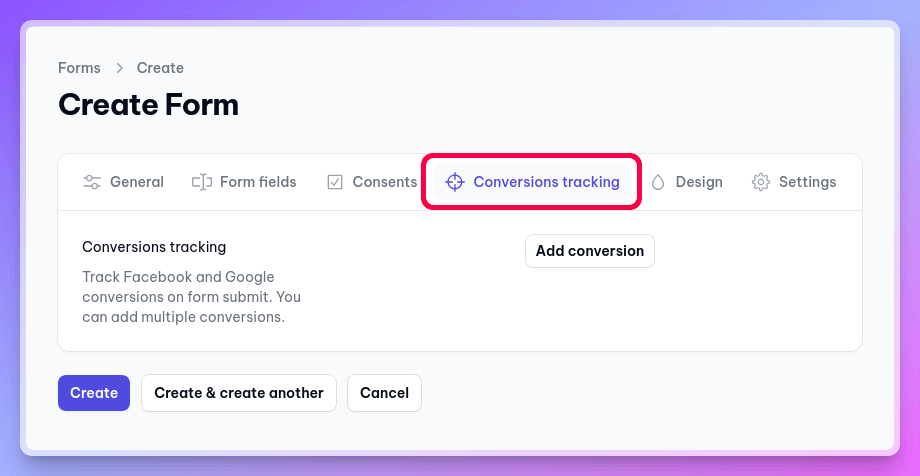
The Conversions tab is crucial for tracking the success of your marketing efforts. Forms are central to online marketing, and accurate conversion tracking is essential for optimization.
-
Set up different conversion events to track form submissions.
-
Branchside automatically tracks these events whenever the form is submitted.
Customize the look and feel of your form in the Design tab. Add custom CSS to any element of your form.

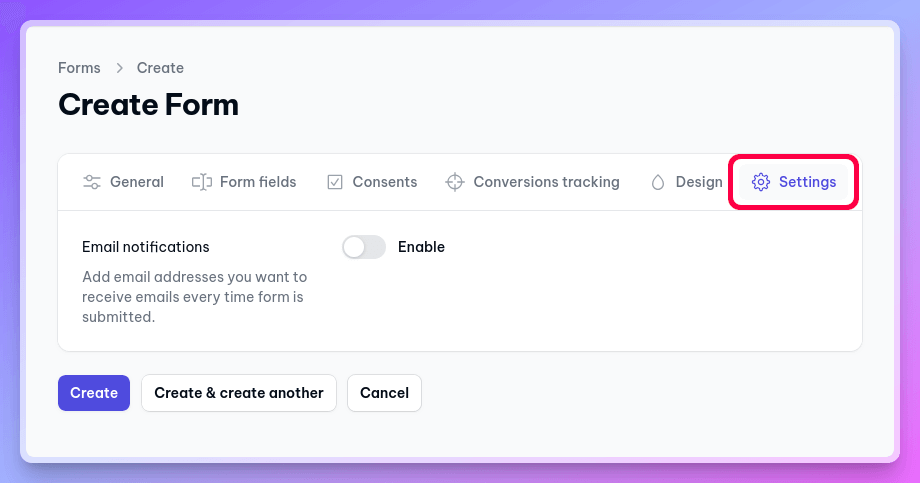
The Settings tab allows you to configure additional options for your form.
Once you've configured all the settings, click the "Create" button to save your form. After saving, you can embed the form on your website.
See our Embedding Form guide for instructions.